Docker backup strategy: a practical plan for small teams
Build a practical Docker backup strategy: inventory volumes and bind mounts, back up databases consistently, capture configuration, and test restores.
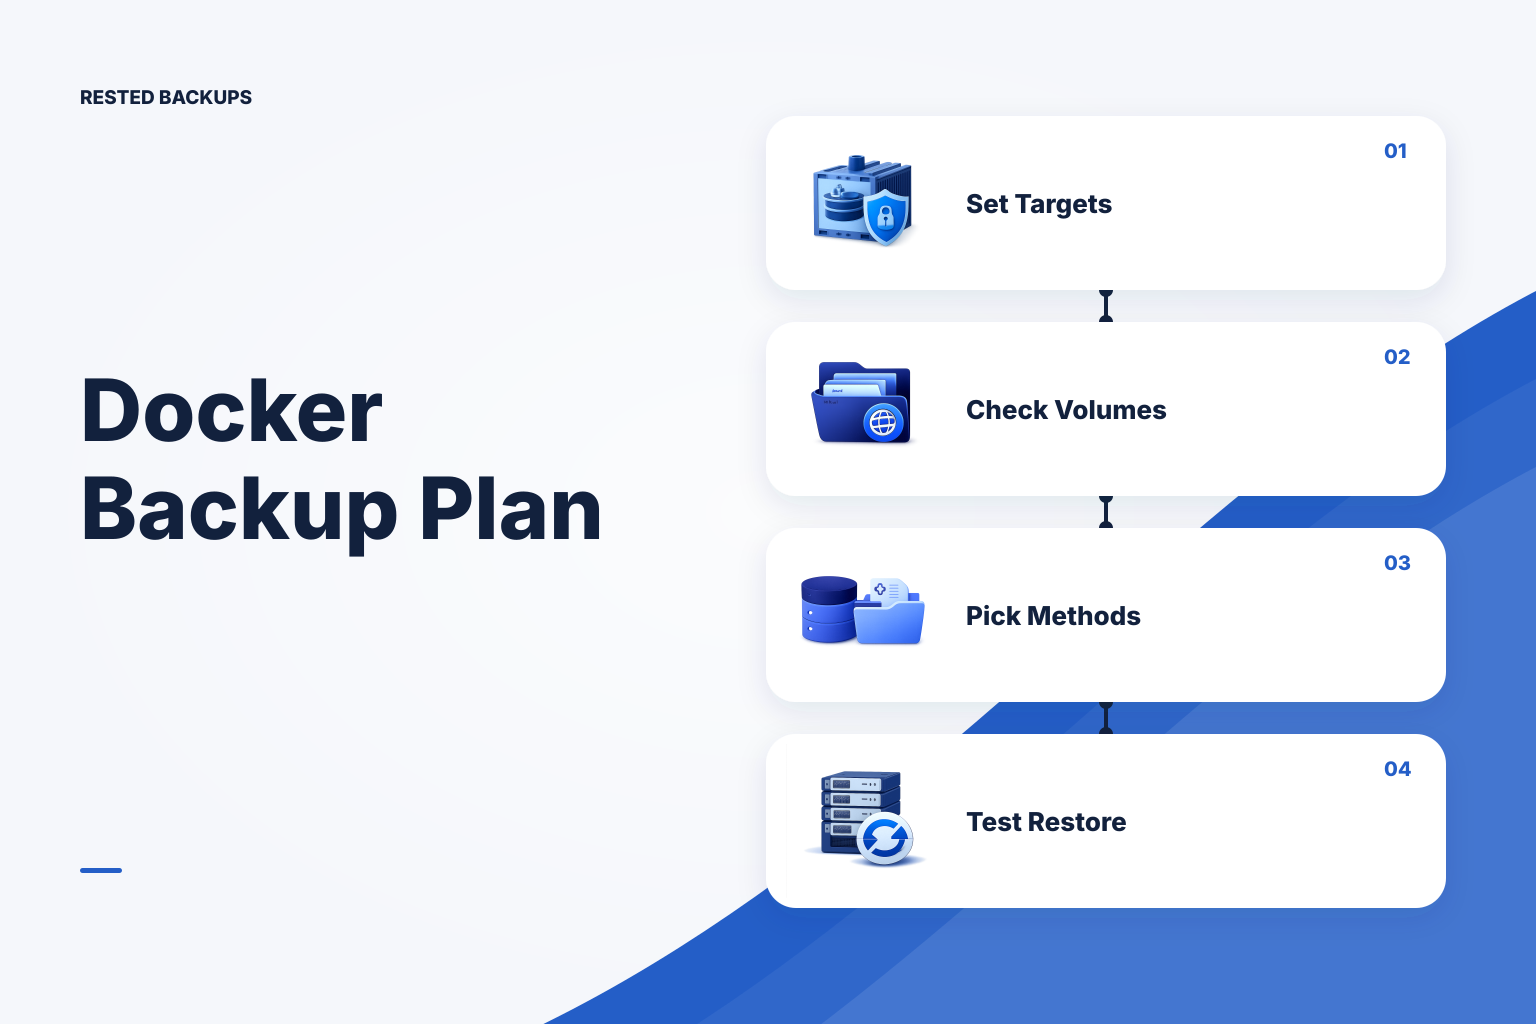
Start with recovery targets, not containers
A practical docker backup strategy protects the persistent state behind your containers, captures the configuration needed to recreate them, and includes restore tests for the workloads that matter. Backing up a container image or assuming docker compose up can rebuild production is not enough: the application’s useful data may be in a named volume, a host bind mount, a database, an object store, or a service outside Docker. This matters because a fast rebuild with missing or inconsistent state is still an outage.
Before choosing a tool or schedule, write down what “recovered” means for each application. For a web service, that may mean the Compose definition, required environment values, TLS material, uploaded files, and the database are available on a replacement host. For a stateful worker, it may mean restoring a queue, local spool, or generated artifacts only when those artifacts cannot be regenerated safely.
Also decide how much recent data loss and downtime the service can tolerate. Recovery point objective (RPO) is the maximum acceptable age of recovered data; recovery time objective (RTO) is the acceptable time to restore service. These are planning choices, not properties automatically delivered by a backup schedule. The [NIST contingency planning guide](https://csrc.nist.gov/pubs/sp/800/34/r1/final) is useful context for tying recovery procedures and tests to the systems they are meant to recover.
- Deployment definition: Compose files, image references, override files, and documented startup dependencies.
- Persistent application state: named volumes, bind-mounted directories, uploads, certificates, and any local data directory.
- Database-consistent data: a logical dump, a database-native backup artifact, or another method appropriate to the engine and its recovery needs.
- Recovery access: storage credentials, encryption or repository recovery keys, and the minimum documented steps to use them.
Map every place Docker and the application keep state
Your first implementation task is an inventory, performed on each host that runs a production workload. Docker distinguishes writable container layers from persistent mounts; its [volumes documentation](https://docs.docker.com/engine/storage/volumes/) explains that volumes persist outside a container’s lifecycle. Treat that as a useful starting point, but do not assume every persistent path is a Docker volume.
List containers and inspect their mounts. For a specific container, docker inspect <container> exposes mount entries; for a named volume, docker volume inspect <volume> identifies its driver and mount information. Review Compose files as well, because a short syntax entry such as ./data:/var/lib/app is a bind mount to a host path, while app-data:/var/lib/app normally refers to a named volume. Record the host-side path or volume name, the owning application, the data type, and the chosen backup method.
Look beyond mounts. A Compose project may rely on .env files, secrets injected by your deployment system, reverse-proxy configuration, scheduled jobs, object-storage buckets, or managed databases. Do not indiscriminately archive all host configuration or secret files into every repository; instead, identify the minimum recovery material, restrict access to it, and document how it is restored. A backup is safer and more usable when its scope is deliberate.
Classify each item as rebuildable, persistent, or externally managed. Images, package caches, and reproducible build outputs are often rebuildable. User uploads and databases are persistent. A managed database or external object store may be externally managed, meaning its backup and restore evidence belongs in the application’s recovery plan even if it is not read from the Docker host.
- Named volumes: identify the application path mounted inside the container and the volume name used by the runtime.
- Bind mounts: capture the actual host path, permissions, filesystem capacity, and whether another process writes there.
- Databases: identify the engine, location, version, capture method, credentials required to restore, and dependencies on application schema migrations.
- Configuration: preserve the version-controlled deployment definition and separately account for protected runtime values that are not in version control.
Choose a capture method that matches how the data changes
Use a filesystem backup for ordinary files only when a point-in-time copy of those files is meaningful to the application. A static uploads directory, rendered media, and a stopped application’s local state are common examples. For data that changes while a backup reads it, decide whether the application can tolerate a crash-consistent copy, whether it can briefly quiesce writes, or whether it needs a native export or backup procedure.
Do not treat a live database data directory as a generic directory by default. Database engines coordinate files, logs, and internal metadata; copying them while writes continue can produce an artifact that is difficult or impossible to use. PostgreSQL documents logical and physical backup approaches, plus the associated restore considerations, in its [backup and restore documentation](https://www.postgresql.org/docs/current/backup.html). Choose the method that fits your PostgreSQL deployment, restore goal, and version, then back up the resulting artifact as part of the wider application recovery set.
For example, an application with a PostgreSQL container and a bind-mounted uploads directory may need two coordinated outputs: a PostgreSQL backup artifact created using the selected database procedure, and a filesystem capture of uploads. Keep a small manifest with the application name, capture time, component locations, and the expected restore order. The aim is not to make every component identical; it is to make the recovery point understandable and usable.
Send these outputs to storage that has sufficient capacity, protected credentials, and retention appropriate to your plan. Encryption and retention are useful controls, but neither validates the application. If you use a restic repository, consult the [Restic documentation](https://restic.readthedocs.io/en/stable/) for repository and restore behavior, and retain the credentials and recovery information required to access that repository. Losing a recovery key can turn an otherwise intact encrypted backup into unrecoverable data.
- Static or append-only files: back up the selected volume or host path, then restore ownership and application-readable permissions as part of the test.
- Active file-backed services: use an application-supported export, snapshot coordination, write pause, or other method the service can recover from.
- Databases: create a database-appropriate backup artifact and verify it can be imported or recovered into an isolated target.
- Configuration: preserve declarative deployment files and document the secure source of non-file secrets rather than assuming the data backup contains them.
Make the workflow scheduled, observable, and recoverable
Before automating, confirm that the backup process runs on a host that can read the selected paths when it executes, has the required database access, and can reach the configured storage destination. Verify available storage, object-storage permissions, and repository access separately. A scheduled job can fail because the workload host is offline, a mount is absent, credentials have changed, or a storage quota has been reached; each condition should have an owner and an alert or review path.
Build the workflow in a deliberate order. First, version-control and validate the deployment definition with docker compose config where Compose is used. Second, inventory and label the stateful mounts. Third, create and locally inspect one database or application export. Fourth, back up the selected file paths and exports to the chosen encrypted repository. Finally, record the repository location, the recovery key location, the expected restore target, and the last successful restore test. This ordering prevents a polished schedule from concealing an incomplete scope.
For Linux hosts, [Rested Backups](https://restedbackups.com) can fit this workflow by running encrypted restic backup work close to the source data and keeping schedules, run outcomes, snapshots, and restore work visible in one workspace. It can use customer-owned or customer-controlled object storage when configured correctly. You still choose the Docker paths, database recipe where supported, retention, storage permissions, and restore target; a green run does not establish that the application will start from the recovered data.
Operational visibility is what turns this from a one-time setup into a backup practice. Review freshness, failures, and snapshots after deployment changes, new volumes, database upgrades, or storage-policy changes. A visible history makes it easier to investigate missed work than an invisible cron job; see [backup automation](/backup-automation) for the operational model and the [Restic dashboard](/restic-dashboard) for the related repository and run-history view.
- Confirm every stateful mount and external dependency has a named protection method or an explicit decision that it is rebuildable.
- Keep repository credentials, storage permissions, and recovery keys accessible to the people who would perform a recovery, without exposing them broadly.
- Review failed or stale runs promptly, including failures caused by missing mounts, unavailable hosts, expired credentials, or storage limits.
- Revisit the inventory whenever a Compose file, volume declaration, database version, or deployment mechanism changes.
Prove the restore on an isolated target
The decisive verification step is a restore test, not a successful upload. Restore into an isolated directory, host, project name, network, or database instance so a mistaken command cannot overwrite the live service. Use a deliberate target because restoring files into a running application path can mix old and new state and make the result harder to diagnose.
Start with a representative recovery point. Restore configuration and persistent files to the isolated target, restore the database artifact using the engine-appropriate procedure, then start the application with non-production endpoints and credentials where possible. Check that expected files exist, ownership and permissions allow the process to read them, database objects or application records are present, and the service completes a meaningful read or health workflow. Record the actual duration and unresolved manual steps; that evidence is more useful than an assumed RTO.
Restore order matters. If an application writes to a volume before the database is available, it may create empty state or migrations that obscure the test. If a database restore requires extensions, roles, or a compatible engine version, make those prerequisites part of the runbook. A clean restore test is also the best time to discover missing secrets, unsupported assumptions about filesystem ownership, or an overlooked bind mount.
Keep the recovery runbook next to the service documentation and repeat the test after meaningful changes. For a focused procedure, use the [Restore backups](/restore-backups) guidance and maintain the database-specific recovery notes alongside your [PostgreSQL backups](/postgres-backups) plan. The practical goal is simple: know which state to restore, where to restore it, who can access it, and how you will verify the recovered service before an incident forces those decisions.
- Verify recovered file counts or representative uploads, expected directory layout, ownership, and application-read permissions.
- Verify the database restore with a meaningful query, application transaction, or controlled service check rather than only confirming that an import command exited successfully.
- Verify the application starts against the restored dependencies and can perform the user-important path you defined in the recovery target.
- Record the recovery point used, elapsed time, exceptions, operator, and changes needed to the inventory or runbook.
Technical basis
First-party references
Technical claims and limitations in this guide were checked against these primary sources. Confirm version-specific behavior when designing a production recovery process.
Related from Rested
Common questions
Frequently asked questions
Do I need to back up Docker images?
Usually, no: images are commonly reproducible from a Dockerfile, image registry, or pinned image reference. Preserve the deployment definition and ensure you can obtain the required image versions. Back up images separately only when you have a documented reason, such as an image that cannot be rebuilt or retrieved within your recovery objective.
What is the safest way to back up Docker volumes?
First determine whether the volume contains ordinary files or a live service’s internal data. A filesystem backup may be suitable for ordinary files, but a database or other transactional service may need its own backup procedure, a coordinated snapshot, or a write pause. Test the exact method by restoring it outside production.
Can I copy a running PostgreSQL container volume?
Do not assume a live copy of PostgreSQL data files is a usable backup. PostgreSQL has documented logical and physical backup methods with distinct restore behavior. Select one that matches the version, deployment, and recovery requirement, then validate the resulting artifact through an isolated restore.
Should Docker Compose files be stored with backups?
Keep Compose files and other declarative deployment configuration in version control where practical, then make them available to the recovery runbook. Also document protected values that are intentionally excluded from version control, such as secrets or external service credentials. The recovered application needs both data and a safe way to reconstruct its runtime configuration.
How often should a small team test Docker restores?
There is no universal interval. Test before relying on a new backup design, then repeat after material changes such as new volumes, database upgrades, altered storage permissions, or deployment changes. Choose an ongoing cadence based on the service’s recovery importance and record the results so the plan reflects current reality.