Restic repository checklist: set up, check, and restore
Follow a practical restic repository checklist for recovery access, backup scope, integrity checks, monitoring, and an isolated restore test.
Start with the restore you need
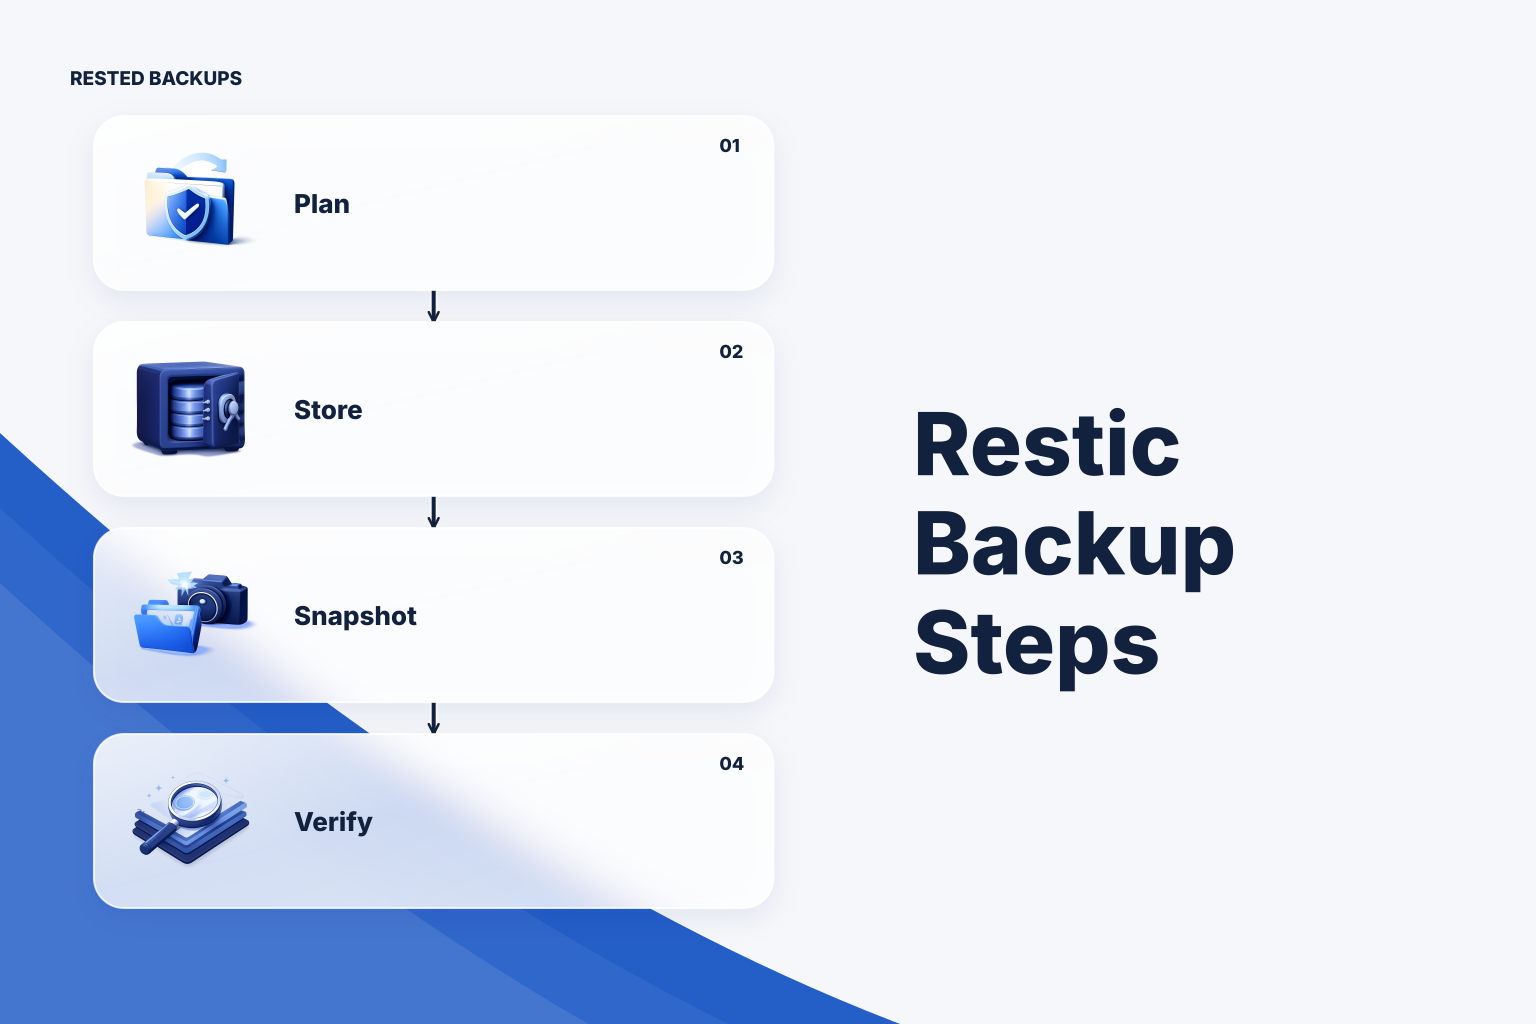
A useful restic repository checklist ends with an **isolated restore**, not a successful upload. First identify the data you must recover and who can reach the repository and its password. Then initialize storage, capture a representative snapshot, check the repository, and restore that snapshot somewhere disposable. This sequence catches missing scope and recovery-access problems that a green backup run cannot.
Write down the recovery target before choosing paths: for example, an application’s uploads, configuration, and a consistent database export. Note where each item will come from and the order in which you would restore it. A filesystem copy of a live database directory is not automatically an application-consistent backup; use a database-aware export or another supported consistency method and test its restore.
Set a recovery point objective (RPO), the maximum acceptable age of recovered data, and a recovery time objective (RTO), the time available to bring the service back. These are planning targets, not properties that restic grants automatically. Choose backup frequency against the RPO, then time a rehearsal—including credential access, transfer, and application checks—to see whether the RTO is plausible.
- List source paths, database export method, required configuration, and anything deliberately excluded because it can be rebuilt.
- Name a primary and alternate operator who can locate the repository, obtain storage access, and retrieve the recovery password.
Prepare storage, credentials, and scope
Give each repository an unambiguous location and record it outside the protected host. For object storage, identify the bucket and dedicated prefix, confirm that the host can reach the endpoint, and test the permissions needed for normal backup operations. If you use S3, the [Amazon S3 user guide](https://docs.aws.amazon.com/AmazonS3/latest/userguide/Welcome.html) is the primary reference for the storage side; endpoint details and permissions depend on your provider and configuration.
Store the restic password or recovery key securely and separately from the server. A second operator should be able to retrieve it through an approved process; neither an encrypted repository nor its snapshots substitute for that key. Limit storage credentials to the intended repository where possible, and document how credentials will be renewed. Losing storage access, the repository location, or the password can stop recovery even if backup jobs previously succeeded.
Confirm that the backup process can read every selected path when it runs, including mounted data that might not be available at boot. Put live database exports through a method appropriate to that database, and avoid treating an arbitrary directory copy as a consistent database backup. Review exclusions with the person who would rebuild the service: a missing configuration file or upload directory is usually discovered too late during an incident.
- Record repository location, storage account, prefix, access method, and where the password-retrieval procedure lives.
- Confirm readable source paths, database consistency, available destination capacity, and a separate place for restore tests.
Run a small capture-to-restore rehearsal
The following **illustrative, local-only** sequence exercises the commands without touching a production repository. Test and adapt it in a non-production shell first. Prerequisites are an installed restic executable, a writable temporary directory, and a pre-existing readable password file whose path you set as RESTIC_PASSWORD_FILE. Do not put the password in shell history, this script, or a committed file. In the example, LAB is a newly created disposable directory, SOURCE_DIR is its sample input, and RESTIC_REPOSITORY is a new local repository—not an S3 URL.
Run the sequence below only where creating temporary files and a new local repository is safe. It initializes the repository, captures a file, lists snapshots, performs a structural check, and restores the latest snapshot to a separate target. cmp should exit successfully and print the final confirmation; a missing snapshot, failed check, or mismatched file must be investigated rather than counted as a pass.
sh
set -eu
: "${RESTIC_PASSWORD_FILE:?Set this to an existing, protected password-file path}"
test -r "$RESTIC_PASSWORD_FILE"
LAB="$(mktemp -d)"
SOURCE_DIR="$LAB/source"
RESTIC_REPOSITORY="$LAB/repo"
export RESTIC_PASSWORD_FILE RESTIC_REPOSITORY
mkdir -p "$SOURCE_DIR"
printf 'restore rehearsal\n' > "$SOURCE_DIR/example.txt"
restic init
restic backup "$SOURCE_DIR"
restic snapshots
restic check
restic restore latest --target "$LAB/restore"
cmp "$SOURCE_DIR/example.txt" "$LAB/restore$SOURCE_DIR/example.txt"
printf 'Restore comparison passed. Disposable lab: %s\n' "$LAB"
The restored absolute source path appears beneath the restore target, which is why the comparison uses "$LAB/restore$SOURCE_DIR/example.txt". Inspect the printed LAB path before deleting that disposable directory; do not reuse these cleanup assumptions for a real repository. For a production rehearsal, use the actual credentials and a chosen snapshot but restore to a separate, authorized host or directory—never over a running service by default. Compare recovered files and then start the application in isolation to test what the files mean.
Separate repository checks from recovery proof
Restic’s [documentation](https://restic.readthedocs.io/en/stable/) distinguishes repository maintenance and checking from restoration. Use restic snapshots to confirm that expected recovery points exist, and restic check to examine repository structure. When practical, run restic check --read-data to read stored pack data as a deeper repository check; plan for the additional storage reads and runtime. Neither check establishes that you captured the right paths or can restart the application.
Choose verification according to the failure you need to detect. Review snapshot contents or manifests for missing paths; use database-native checks or a logical import for a database artifact; and restore to an isolated directory, disposable environment, or suitable clone for an end-to-end rehearsal. An application smoke test should confirm a meaningful result, such as expected records or accessible uploads. Record which snapshot you used, what you checked, the elapsed recovery time, and any steps that needed undocumented knowledge.
For a small Linux fleet, [Rested Backups](https://restedbackups.com) can keep scheduled encrypted restic runs, outcomes, snapshots, and restore work visible in one workspace while using configured storage you control. That visibility helps you find a recent failure or recovery point; you still choose the right scope, retain the recovery key, and perform the application-level restore test.
- If a check fails, preserve the error and repository state, investigate storage access and integrity, and avoid running destructive maintenance as a guess.
- If files restore but the service fails its smoke test, revisit backup consistency, missing dependencies, and restore order before calling the repository recoverable.
Keep the checklist current after the first test
Schedule backups only after the manual capture and restore path works. Monitor both failed runs and freshness: a job that never started will not produce a backup-command failure. Check that the agent or host was online, source mounts were present, storage permissions still work, and repository growth fits available capacity. Review the schedule when the volume of new data or the acceptable RPO changes.
Retention is a recovery decision: keep enough points to cover the mistakes you expect to discover late, while accounting for storage cost. In restic, selecting snapshots to forget and pruning unreferenced data are distinct operations. Document the policy, review its effect before applying changes, and consider how your storage deletion protections affect pruning. Keep a usable recovery point and a tested restore procedure before making large retention changes.
Your repeatable check is: **identify the recovery target → confirm source and credentials → capture → inspect snapshots → check repository → restore in isolation → test the application → record the result**. Repeat it after changes to paths, databases, storage credentials, or retention. If another operator cannot follow the record to a working service, improve the runbook before relying on the next scheduled backup.
Technical basis
First-party references
Technical claims and limitations in this guide were checked against these primary sources. Confirm version-specific behavior when designing a production recovery process.
Related from Rested
Common questions
Frequently asked questions
Is `restic check` enough to verify a backup?
No. It checks repository structure; optional data reads provide more evidence about stored data. You must also confirm backup scope and restore a representative snapshot, then validate the recovered application or database.
Should I run `restic check --read-data` after every backup?
Not necessarily. It reads repository data and can consume substantial time and storage-request capacity. Choose a cadence your repository size and storage budget support, while testing restores separately.
Can I restore a snapshot directly over production files?
Use an isolated target first. Inspect the selected snapshot, validate its contents, and plan the application’s stop, restore order, permissions, and restart before considering a production cutover.
What if the backup runs successfully but no recent snapshot appears?
Check that you are viewing the intended repository and credentials, inspect the run output and schedule, and verify the source host was online with its mounts available. Treat unexpected snapshot age as a recovery gap until you confirm a usable point.